One of the most critical steps in the room painting process is patching and repairing the existing drywall. Before the actual repairs take place, we need to determine what kind of patching material to use depending on the size of the repair and the amount of dry-time we want to give the patch.
As with most trade skills, this one takes hands-on practice. You’ll need to learn how to mix the right consistency of mud. Most repairs require three coats of mud and you’ll use sequentially larger spackling blades with each new coat. Experience will teach you how long patches take to dry. And you’ll see how the mud can shrink as it dries. Practice will teach you how thick or thin to apply the mud and how many layers your patch will require. As you gain expertise, you’ll see why many painters have a hairdryer, if not a fan, on the job site to speed dry times. Let's take a look…
Up Next in Level 2
-
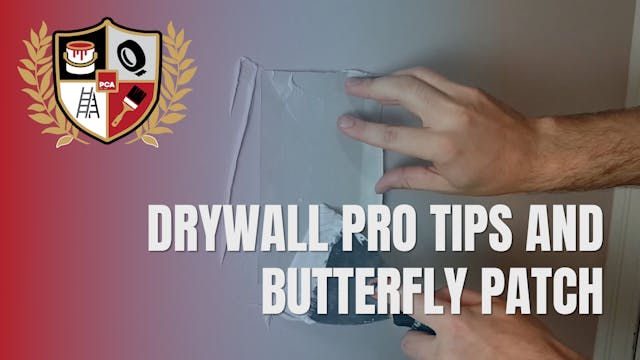
Drywall Pro Tips and Butterfly Patch
At PCA we’ve gathered decades of experience from expert craftspeople. In this video, we’ll share some tried and true professional tips to keep in mind when repairing drywall. Let’s take a look…
-
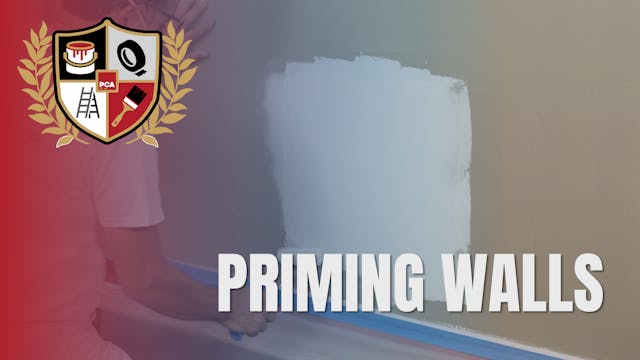
Priming Walls
After drywall mud is applied to a wall, the mud acts like a sponge. The mud will absorb more sheen out of the paint than the rest of the wall. When everything dries, the mudded areas will show as dull spots and the sheen will not be consistent over the entire wall. This is called flashing. What e...
-
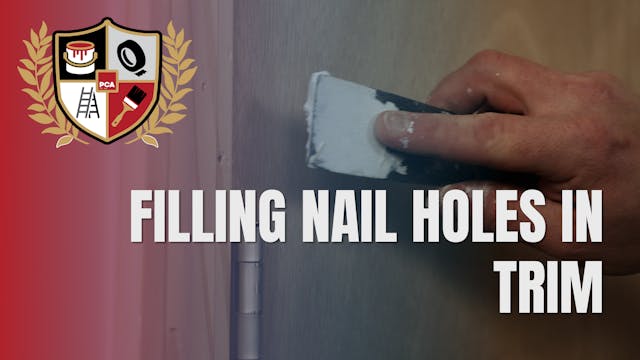
Filling Nail Holes In Trim
This lesson will explore how to fill nail holes in two of the most common wood finishes; enameled and stained. During installation, wood trim is riddled with nail holes that need to be filled. And sometimes, when repainting existing trim, we’ll also find it necessary to fill dings and dents to pr...


